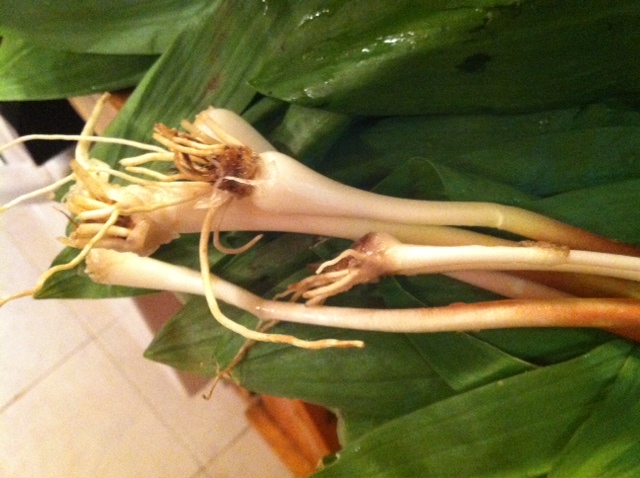
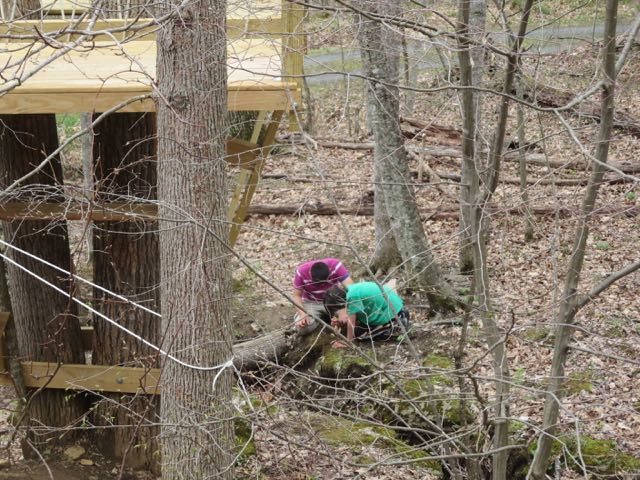
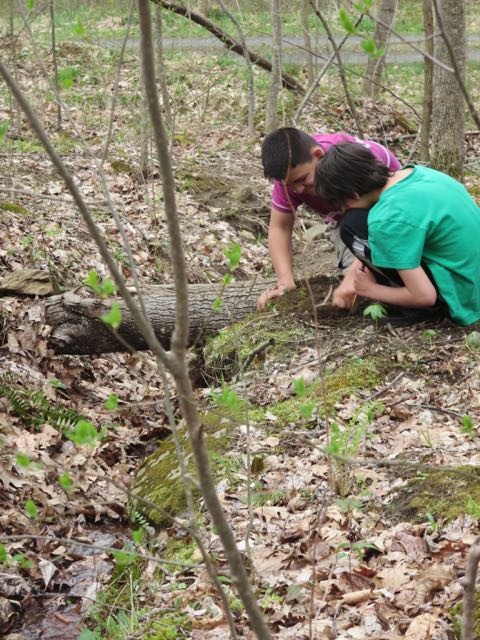
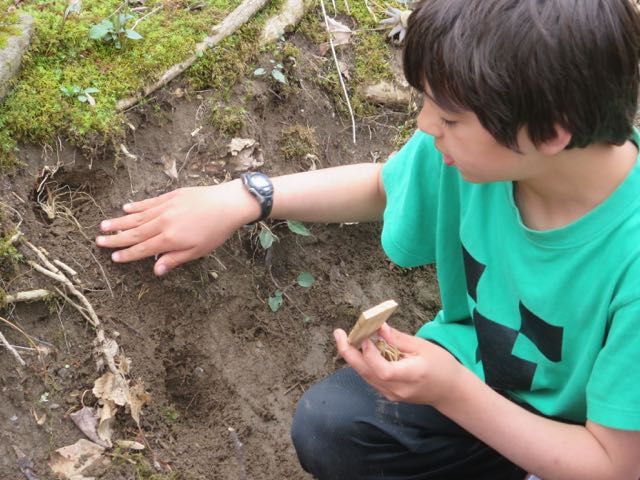
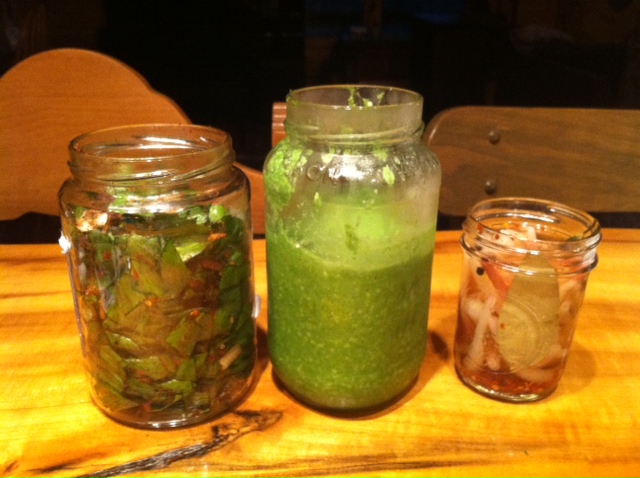
Last spring, I had no idea what ramps were. We were introduced to this wild, local, Appalachian member of the leek/onion family by a neighbor who told us he had foraged some in the woods on our mountain. He gave us a couple to try. They were pretty yummy- taste a cross between leek, green onion, garlic- actually reminded me of what my parents always waited for during our "winters" in India, while growing up. A type of garlic they called "green garlic", which was eaten with a special flat bread made of "bajra" (millet/sorghum). Anyways, ramps kind of reminded me of this. And it seemed like people here also waited for ramps to arrive, as a sign of the end of winter. Ramps supposedly contain nutrients needed to replenish what you couldn't get in winter. So, we looked long and hard for ramps around our cabin and up the mountain, but never did find any. However, I found ramps were being sold by locals on the sides of the roads! So, I bought a bunch and decided to do some food experiments with them. I ended up making ramp pesto, ramp pickles and even ramp khimchi- all pretty yummy! Then, I learned about how its hard to cultivate ramps and that to ensure their continuity, people are expected to only harvest 5% of the patch they forage. So, just to help Mother Nature, I asked Rigel and his buddy to help re-plant the ramp bulbs that I saved near our tree house, by the creek. Wonder if they will produce new ramps next spring!
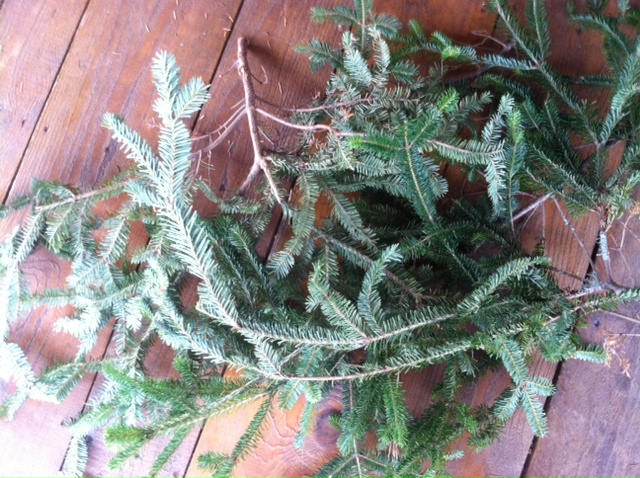
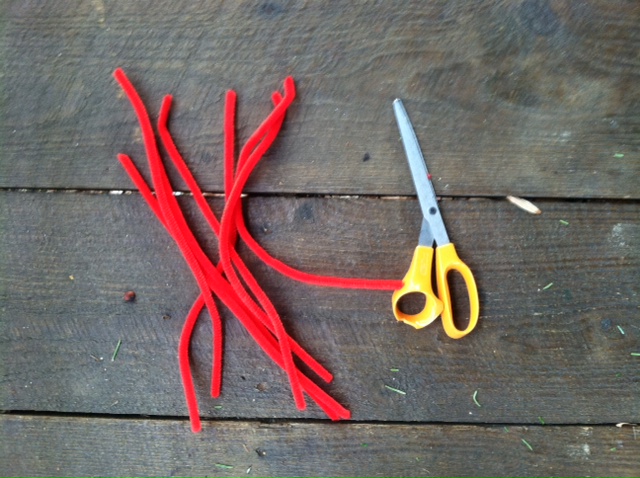
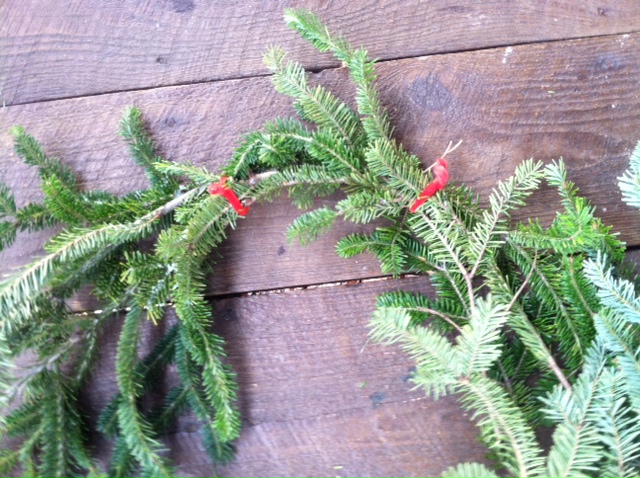
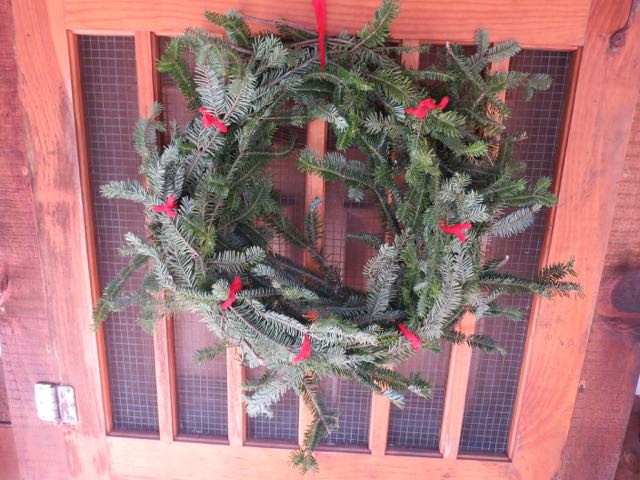
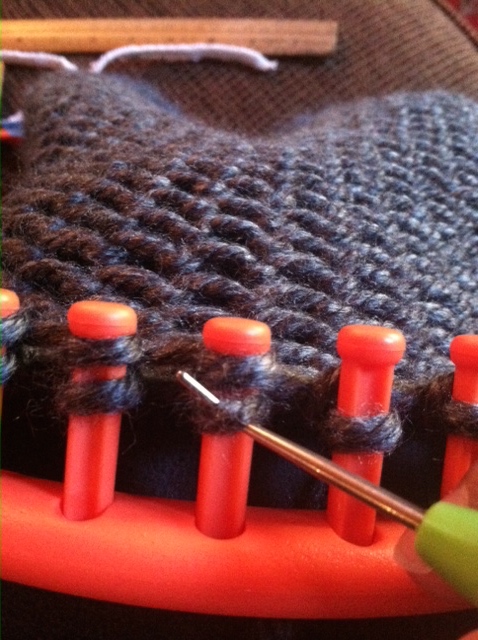
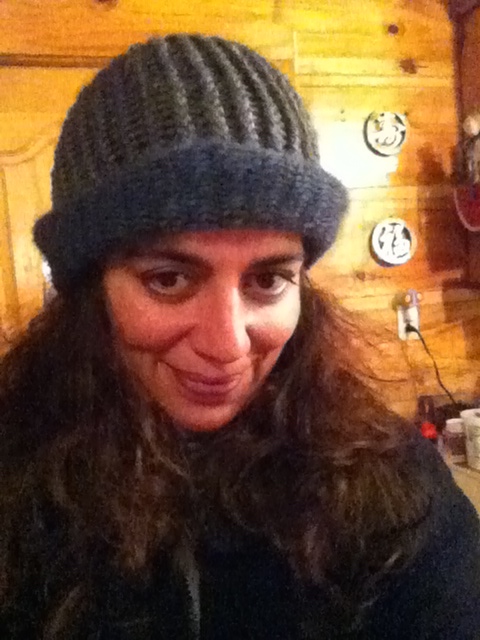
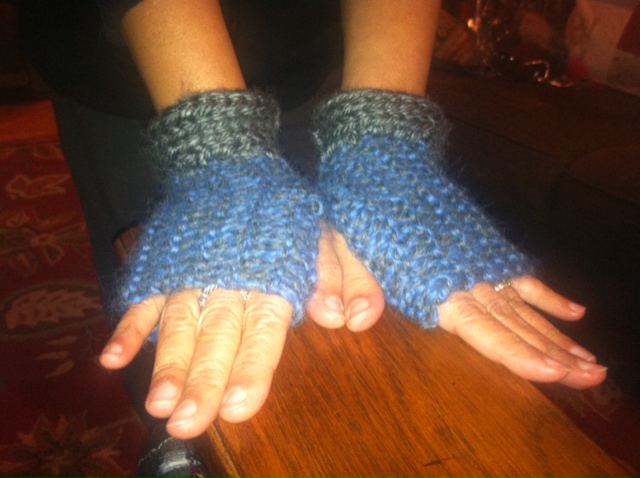
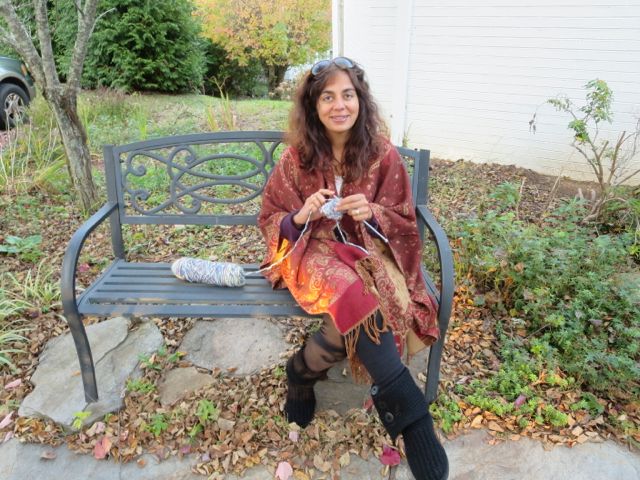
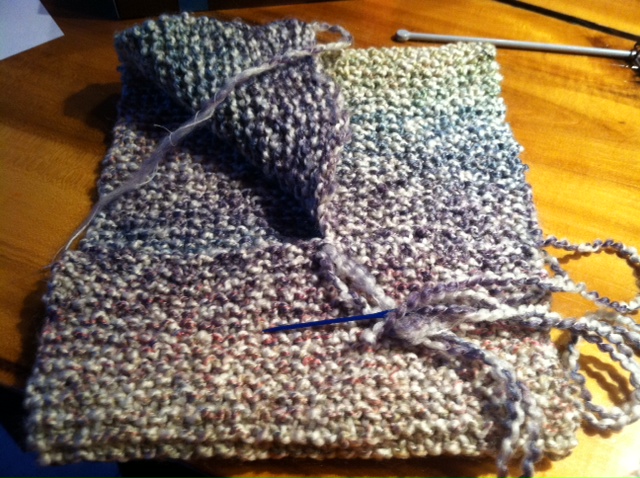
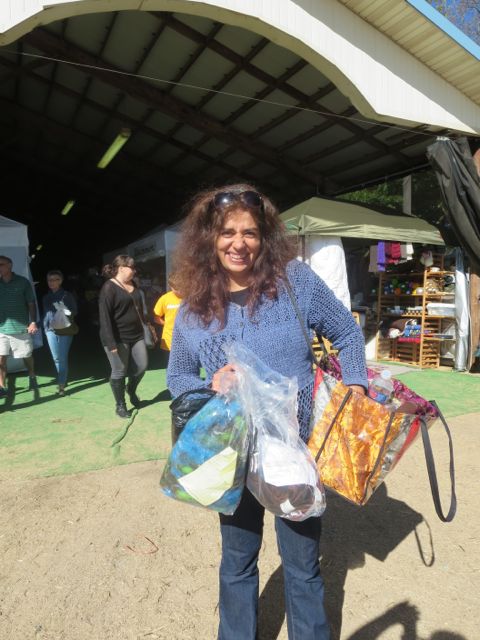
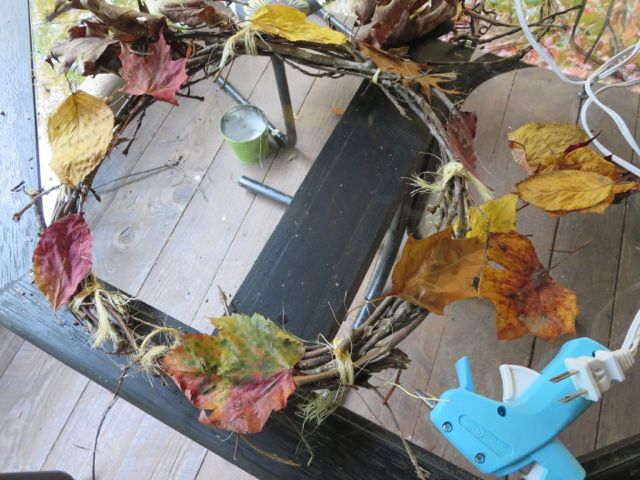
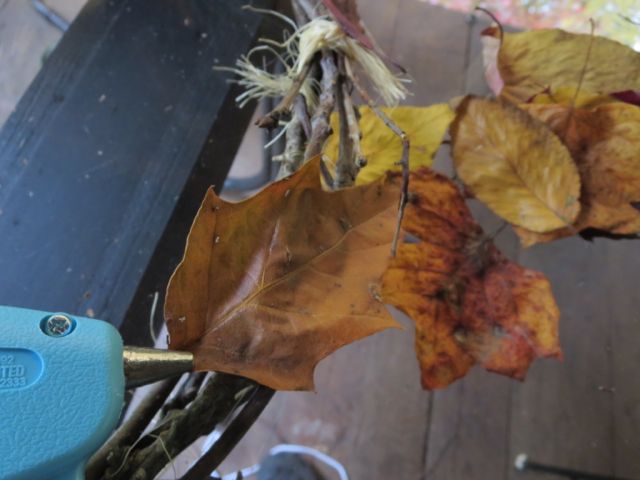
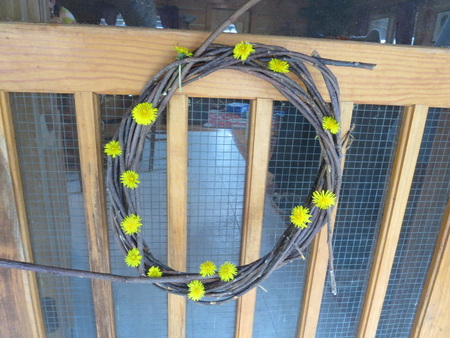 A seasonal follow up to my decorative, nature wreaths! This one uses apple branches and dandelions. The flowers can be change, depending on what you find in the woods! So, after making a fall wreath, I decided to make a Christmas wreath using the beaches we had to cut off from the bottom of our Christmas tree to fit it in the stand. Of course, as most of my "projects" are not planned, I realized that I didn't have half the materials that the online tutorials suggested I use. Nevertheless, I was determined to make one with just the materials we had at the cabin! My first attempt was feeble- literally! Since I didn't have a wire backing to hang my fresh pine needle branches on, it kept falling down. But after a couple of practice attempts, it turned out not too bad! Loom knittingI finished another knitting project- and this one was even quicker! I learned to knit on a round loom. We'd actually seen a lady knit on one at the Fiber Fair and were interested in trying one for ourselves, so we got one from Michael's (LOVE that store!). And it's easy to teach yourself thanks to all the fabulous teaching movies that talented people have posted on YouTube! Loom knitting is easy and fun. And quick and rewarding. I whipped up a hat (imagine that!) in just a short time and since I had yarn left over, decided to add matching fingerless mittens to it too! Not bad, eh? :-) I've always enjoyed the process of knitting- so relaxing- but am always too distracted to actually finish a knitting project. My friend, Lucinda in Shanghai, who's a master knitter, tried for years to get me more into knitting (she even completed a couple of projects for me!). Well, I decided to give it another go here and was actually able to finish knitting an infinity scarf- within a week! Going to the fiber fair, was also a huge incentive! And now I have some beautiful hand made yarn (some of these skeins even came with a picture of the animal that the wool was from!). Short and easy knitting projects are key! Here's my first knitting project, using size 8 needles and a bumpy multi-colored yarn that just called for a rainbow! A quick and easy project!This also started with a walk in the woods! Materials needed: maleable twigs, branches fall leaves string or twine glue gun A quick and easy project!It started with a walk in the woods- always so beautiful and inspiring! I can never return home with my hands empty... Materials needed: fall leaves acorns branch clear glass vase 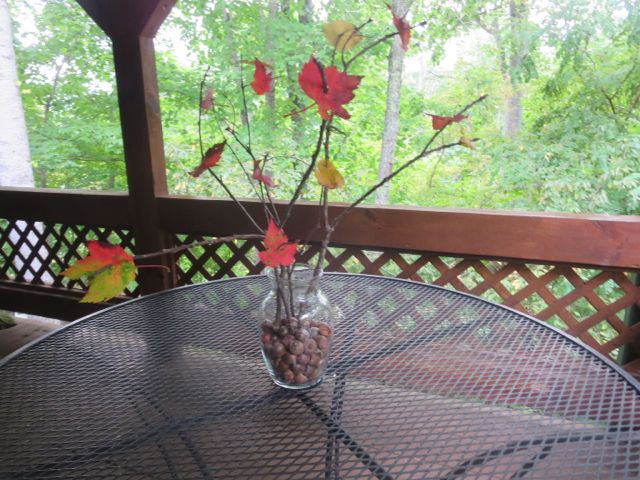
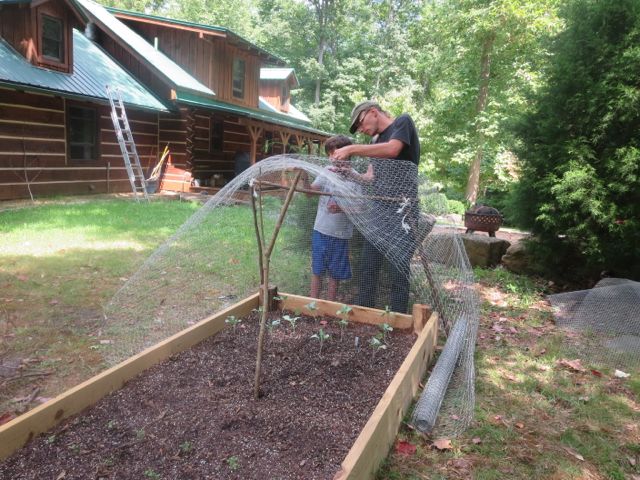
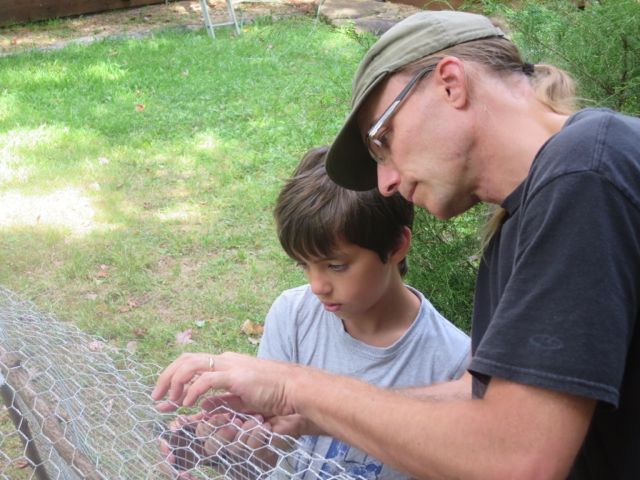
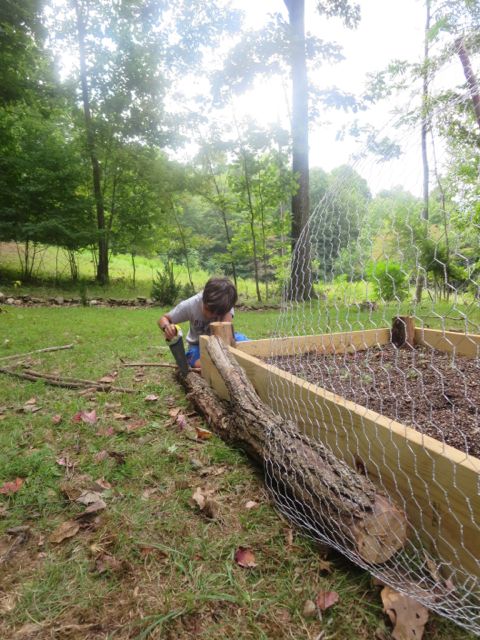
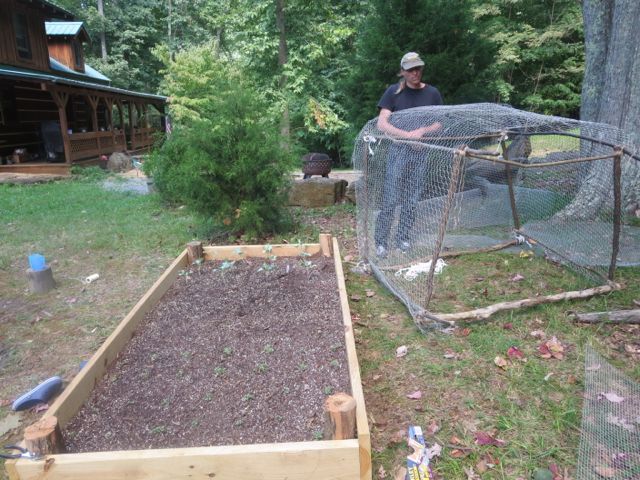
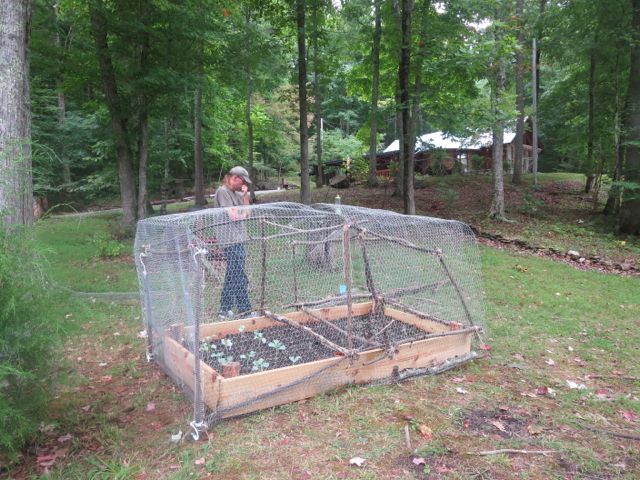
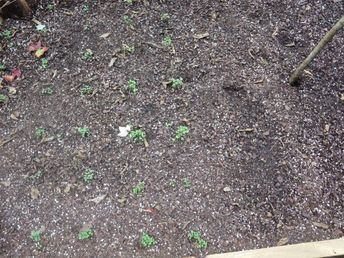 Well, a couple of mornings after my raised bed was done and the seeds all planted, waiting to grow, Ri shouted from outside that he had spotted deer tracks INSIDE the raised bed! At first, I thought he was kidding me since everyone has been warning me that my garden will never come to fruition because of where we are! (Did I mention, we have neighbors that rescue and take care of baby deer? More on that on the main Our Notes page). Anyways, I went out to see and sure enough, there were what looked suspiciously like deer tracks right in the middle of my new garden! We had already thought about making a kind of protective cover for my experimental garden (Mostly, Jim didn't want to see me fall apart, despite my reassuring him that if my plants got eaten I would bear the loss with fortitude!). So this led us to Part 2 of our garden project! Doesn't the cover look like a funky, outdoor art installation?!
My experimental garden is finally done! This was fun but NOT quick and easy! I was excited to learn how to use an electric drill and to make a wood frame. Thanks, Jim and Rigel, for teaching me! Aneka was also a big help in the layering process. I took photos of the whole process! Now, keeping fingers crossed and hoping no critters, big or small, decide to eat up what little there is to before we get a cover protection! This will be my next project! SketchUp Update: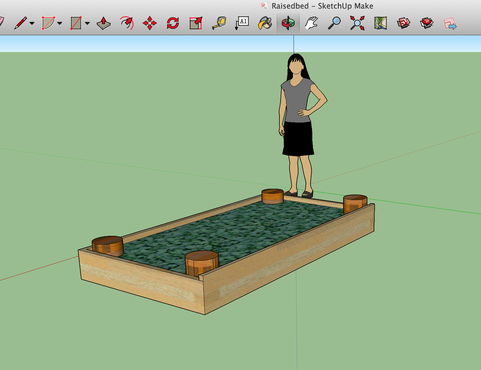 So, we've been learning SketchUp and Jim thought this would be a way to use it to design our raised bed. Of course, this time we did a backwards design, going from product to design! But we are beginning to see the use of this amazing program for real life learning! From the four of us, Rigel is probably the best at using it, thanks in part, to his growing skills in using Minecraft! But don't tell him I said so! ;-) |
AuthorI was born in Dar-es-salaam, Tanzania but grew up in Bombay (now Mumbai), India. I love being outdoors, especially with children as they help me (re) discover nature. CategoriesArchives
May 2015
|


 RSS Feed
